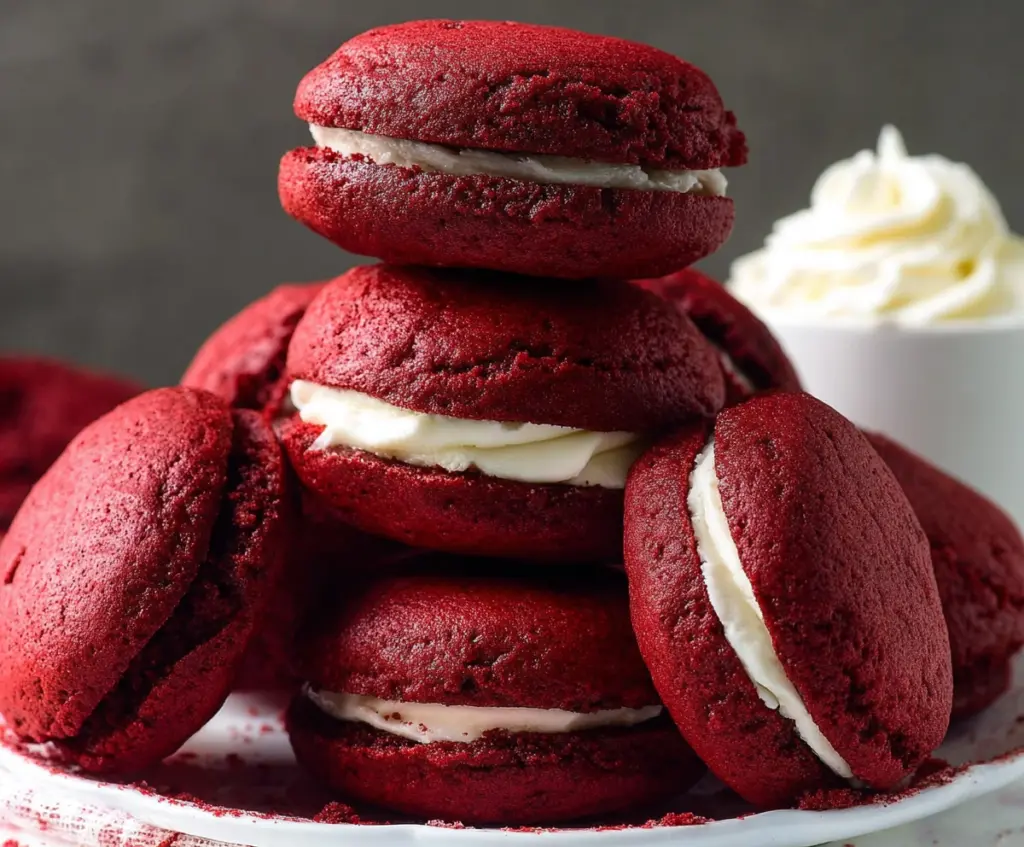
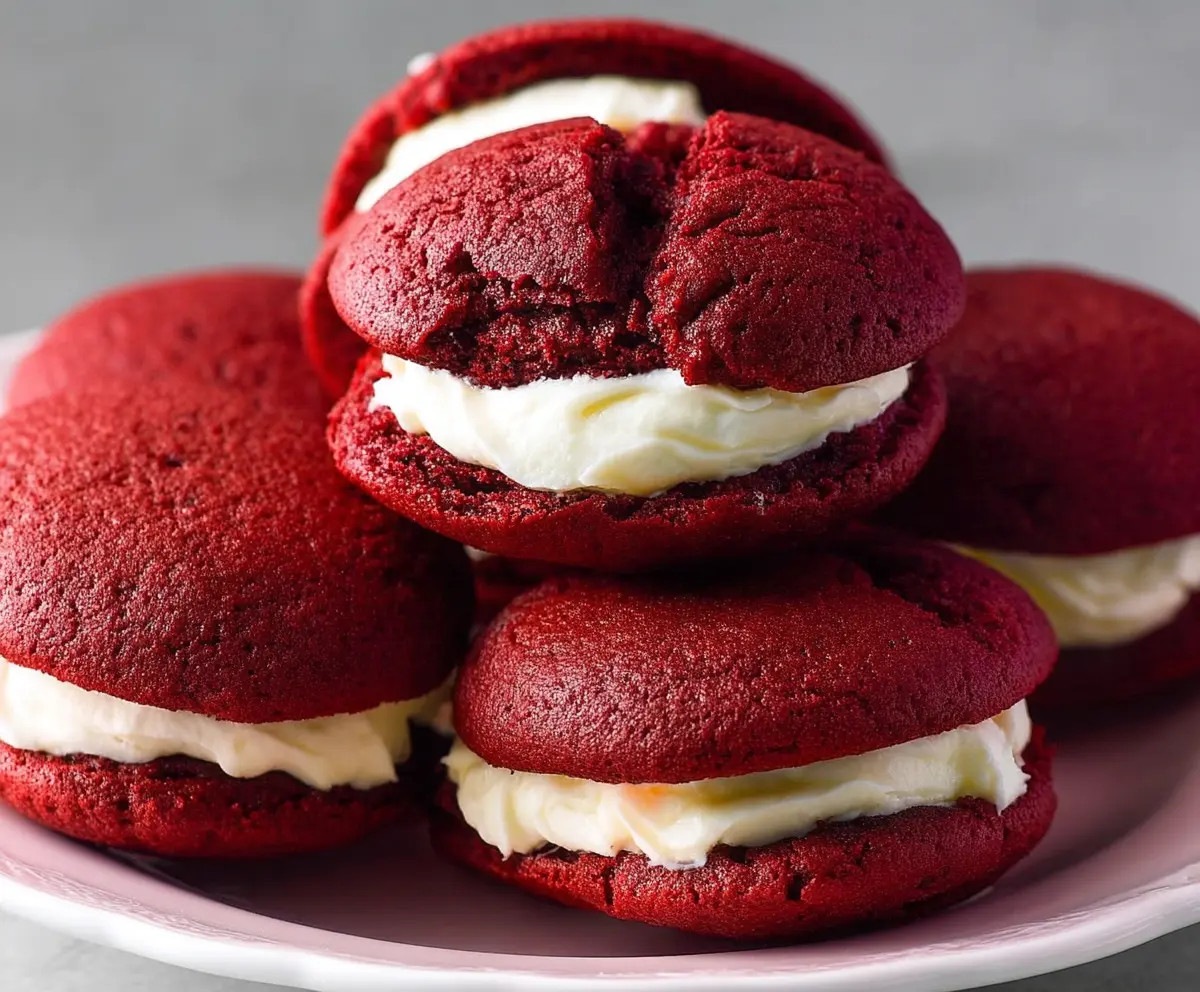
Red Velvet Whoopie Pies are little treats that pack a big punch of flavor and fun in every bite. They’re made from soft, cake-like red velvet cookies sandwiched together with a sweet, creamy filling that’s just the right balance of rich and fluffy. If you love red velvet cake but want something a bit more handheld and playful, these whoopie pies are perfect.
I love making these because they’re so cheerful and colorful, and they always put a smile on people’s faces. Plus, they’re surprisingly easy to whip up, even if you’re not usually a baker. One of my favorite tips is to chill the filling a bit before assembling—the creaminess firms up just enough, making the whoopie pies easier to put together and so satisfying to eat.
When I serve these at gatherings, I like to arrange them on a pretty plate with a dusting of powdered sugar on top. They’re great for sharing with friends over coffee or as a fun dessert for family dinners. Honestly, once you try these, you might find yourself coming back to make them again and again because they’re just that good!
Key Ingredients & Substitutions
Flour & Cocoa Powder: Use all-purpose flour for a soft texture. Unsweetened cocoa gives that subtle chocolate taste but doesn’t overpower the red velvet flavor.
Buttermilk: It adds tanginess and helps keep the cakes moist. If you don’t have it, mix 1 cup milk with 1 tablespoon vinegar and let sit for 5 minutes.
Red Food Coloring: This gives the vibrant red color. You can use gel food coloring as it’s more intense and won’t thin the batter.
Cream Cheese Filling: Cream cheese and butter make a smooth, tangy filling. You can swap butter for cream cheese if you want a stronger cheesecake flavor.
How Do I Get Soft, Fluffy Whoopie Pie Cakes Every Time?
The key is not to overmix your batter once you add the dry ingredients. Mix just until the flour disappears to keep the cakes tender.
- Beat butter and sugar well until fluffy; this traps air and helps with rise.
- Add eggs one at a time for better mix and texture.
- Alternate adding dry ingredients and buttermilk to keep the batter smooth.
- Drop batter by tablespoon-sized scoops spaced apart so they don’t spread and merge.
- Bake just until tops spring back to the touch; overbaking makes them dry.
These simple steps lead to soft red velvet cakes that are perfect for sandwiching with creamy filling.
Equipment You’ll Need
- Baking sheets – sturdy and flat for even baking of the whoopie pie cakes.
- Parchment paper or silicone mats – stops the cakes from sticking and makes cleanup easier.
- Mixing bowls – a large one for batter and a medium one for the filling.
- Electric mixer or stand mixer – makes mixing butter, sugar, and eggs quick and smooth.
- Spoon or cookie scoop – helps drop even-sized batter dollops for uniform cakes.
- Wire cooling rack – cools the cakes evenly preventing sogginess.
- Spatula or piping bag – for spreading or piping the cream cheese filling neatly.
Flavor Variations & Add-Ins
- Try pumpkin puree in the batter for a fall twist; it keeps cakes moist and adds gentle spice.
- Mix mini chocolate chips into the batter for added texture and extra chocolate flavor.
- Use whipped mascarpone instead of cream cheese for a lighter, silkier filling.
- Add a teaspoon of instant espresso powder to the batter to deepen the cocoa notes.
How to Make Red Velvet Whoopie Pies
Ingredients You’ll Need:
For the Red Velvet Cakes:
- 2 cups all-purpose flour
- 1/4 cup unsweetened cocoa powder
- 1 teaspoon baking powder
- 1/2 teaspoon baking soda
- 1/2 teaspoon salt
- 1 cup buttermilk, at room temperature
- 1 teaspoon white vinegar
- 2 teaspoons vanilla extract
- 1 cup granulated sugar
- 1/2 cup unsalted butter, softened
- 2 large eggs, at room temperature
- 2 tablespoons red food coloring
For the Cream Cheese Filling:
- 8 ounces cream cheese, softened
- 1/2 cup unsalted butter, softened
- 3 cups powdered sugar, sifted
- 2 teaspoons vanilla extract
How Much Time Will You Need?
This recipe takes about 30 minutes to prepare and 10-12 minutes for baking. Allow an additional 30 minutes for cooling and chilling so the filling sets perfectly. In total, you’ll spend roughly 1 hour before enjoying these delicious treats!
Step-by-Step Instructions:
1. Prepare the Oven and Dry Ingredients:
Preheat your oven to 350°F (175°C). Line two baking sheets with parchment paper or silicone mats. In a medium bowl, sift together the flour, cocoa powder, baking powder, baking soda, and salt. Set this mixture aside for later.
2. Mix Wet Ingredients and Sugar:
In a small bowl, whisk together buttermilk, white vinegar, and vanilla extract. In a large bowl, beat the softened butter and granulated sugar together on medium speed until light and fluffy, about 3 minutes. Then, add the eggs one at a time, beating well after each addition.
3. Add Color and Combine:
Slow the mixer speed to low and add the red food coloring, mixing until evenly blended. Alternate adding the dry ingredient mixture and buttermilk mixture to the butter mixture, starting and ending with the dry ingredients. Mix just until combined each time—you don’t want to overmix!
4. Bake the Whoopie Cakes:
Using a rounded tablespoon, drop batter onto the prepared baking sheets about two inches apart. Bake for 10 to 12 minutes, or until the tops gently spring back when you touch them. Let the cakes cool on the baking sheets for 5 minutes, then transfer them to a wire rack to cool completely.
5. Make the Cream Cheese Filling:
While the cakes cool, beat the softened cream cheese and butter together until smooth. Gradually add the powdered sugar, beating on low speed until combined. Then increase the speed and beat until the filling is light and fluffy. Mix in the vanilla extract until fully incorporated.
6. Assemble the Whoopie Pies:
Once the cakes are completely cool, spread or pipe a generous amount of cream cheese filling onto the flat side of one cake. Top it with another cake to form a sandwich. Repeat with all remaining cakes and filling.
7. Chill and Serve:
Place the assembled whoopie pies in the refrigerator for about 30 minutes to let the filling set. Serve chilled or at room temperature and enjoy your soft, creamy Red Velvet Whoopie Pies!
Can I Use Frozen Red Velvet Whoopie Pie Cakes?
Yes! You can freeze the cooled cakes in an airtight container for up to 2 months. Thaw them at room temperature before assembling with the filling for best results.
How Should I Store Leftover Whoopie Pies?
Store leftover assembled whoopie pies in an airtight container in the refrigerator for up to 4 days. Bring to room temperature before serving for the best flavor and texture.
Can I Substitute the Cream Cheese Filling?
Absolutely! You can replace the cream cheese filling with whipped mascarpone or buttercream if you prefer. Just keep in mind the flavor and texture will vary slightly.
What’s the Best Way to Make the Cakes Soft and Moist?
Don’t overmix the batter once you add the dry ingredients. Also, baking just until the tops spring back keeps the cakes tender. Using buttermilk helps add moisture and a subtle tang.