Red Velvet Mug Cake is the perfect quick treat for when you want something sweet and chocolatey but don’t want to wait or make a big cake. It combines the classic flavors of red velvet—like cocoa and a hint of tangy buttermilk—with a soft, moist texture that you can make right in your mug. It’s like having a mini dessert ready in just a few minutes!
I love making this mug cake because it’s so simple and fast. I just mix the ingredients in my favorite mug, pop it in the microwave, and in no time, I have a warm, fluffy cake. It’s a lifesaver for those nights when I want something sweet but don’t want to fuss with baking a whole cake. Sometimes I even add a little cream cheese frosting on top to make it feel extra special.
One of my favorite ways to enjoy this is with a scoop of vanilla ice cream or a drizzle of chocolate syrup. It’s great for a cozy night in or whenever I need a little pick-me-up. Honestly, this red velvet mug cake feels like a small, sweet hug in a cup, and I bet you’ll love it just as much as I do!
Key Ingredients & Substitutions
Flour: All-purpose flour is what gives structure to the mug cake. You can swap it for gluten-free flour if needed, but a blend that includes xanthan gum works best.
Cocoa powder: Unsweetened cocoa adds the classic red velvet hint of chocolate. Dutch-processed cocoa is ideal, but natural cocoa also works well here.
Milk: Regular milk keeps the batter moist and tender. You can use any plant-based milk like almond or oat milk for a dairy-free version.
Vegetable oil: Oil keeps the cake moist and soft. You can substitute with melted coconut oil or olive oil if you like, but keep the flavor in mind.
White vinegar: This small amount reacts with the baking powder to give a light, tender crumb. Apple cider vinegar works well too if you don’t have white vinegar.
Red food coloring: Red food coloring creates the beautiful red velvet color. If you prefer natural options, beet juice or powder can add color, but it may affect the cake’s taste slightly.
How Can I Make Sure the Mug Cake Is Moist but Not Overcooked?
Microwaving can be tricky, especially with a small cake like this. Here’s how to get it right:
- Microwave in short bursts, starting at 70 seconds, then check the cake’s texture. It should be firm on top but still a bit soft inside.
- Remember, it will continue cooking a little after you take it out due to residual heat, so avoid overcooking in the microwave.
- Use a microwave-safe mug that’s not too big to avoid spreading the batter too thin (this can dry it out).
- If your microwave runs hot, reduce the cooking time slightly and test in 10-second increments.
Equipment You’ll Need
- Microwave-safe mug – the perfect size to cook your cake evenly without spilling.
- Small whisk or fork – helps you mix the batter smooth right in the mug.
- Measuring spoons – to get the right amounts of flour, cocoa, and other ingredients.
- Microwave – heats the cake quickly so you get a fresh dessert in minutes.
Flavor Variations & Add-Ins
- Stir in a tablespoon of cream cheese for a gooey center that mimics classic red velvet frosting.
- Add a few crushed peppermint candies for a festive holiday twist.
- Mix in chocolate chips or white chocolate chunks for extra melty sweetness.
- Substitute the red food coloring with a teaspoon of beet juice for a natural color and slight earthiness.

How to Make Red Velvet Mug Cake?
Ingredients You’ll Need:
For The Cake:
- 4 tablespoons all-purpose flour
- 2 tablespoons granulated sugar
- 1 tablespoon unsweetened cocoa powder
- 1/8 teaspoon baking powder
- Pinch of salt
- 3 tablespoons milk
- 1 tablespoon vegetable oil
- 1/4 teaspoon vanilla extract
- 1/4 teaspoon white vinegar
- 1/2 tablespoon red food coloring
For The Topping:
- Whipped cream, for topping
- Mini chocolate chips, for garnish
How Much Time Will You Need?
This red velvet mug cake takes about 5 minutes in total. You’ll spend just 2 to 3 minutes mixing your ingredients, then 1 to 1.5 minutes cooking the cake in the microwave. After a brief cool-down, add your topping and enjoy it right away!
Step-by-Step Instructions:
1. Mix the Dry Ingredients:
In a microwave-safe mug, stir together the flour, sugar, cocoa powder, baking powder, and salt until they’re well blended. This helps make sure your cake bakes evenly.
2. Add Wet Ingredients and Blend:
Pour in the milk, vegetable oil, vanilla extract, white vinegar, and red food coloring. Stir everything together until the batter is smooth and uniform in color.
3. Microwave the Cake:
Place the mug in your microwave and heat on high for 70 to 90 seconds. Keep an eye on it starting at 70 seconds to prevent overcooking. The cake should be set on top but still moist inside.
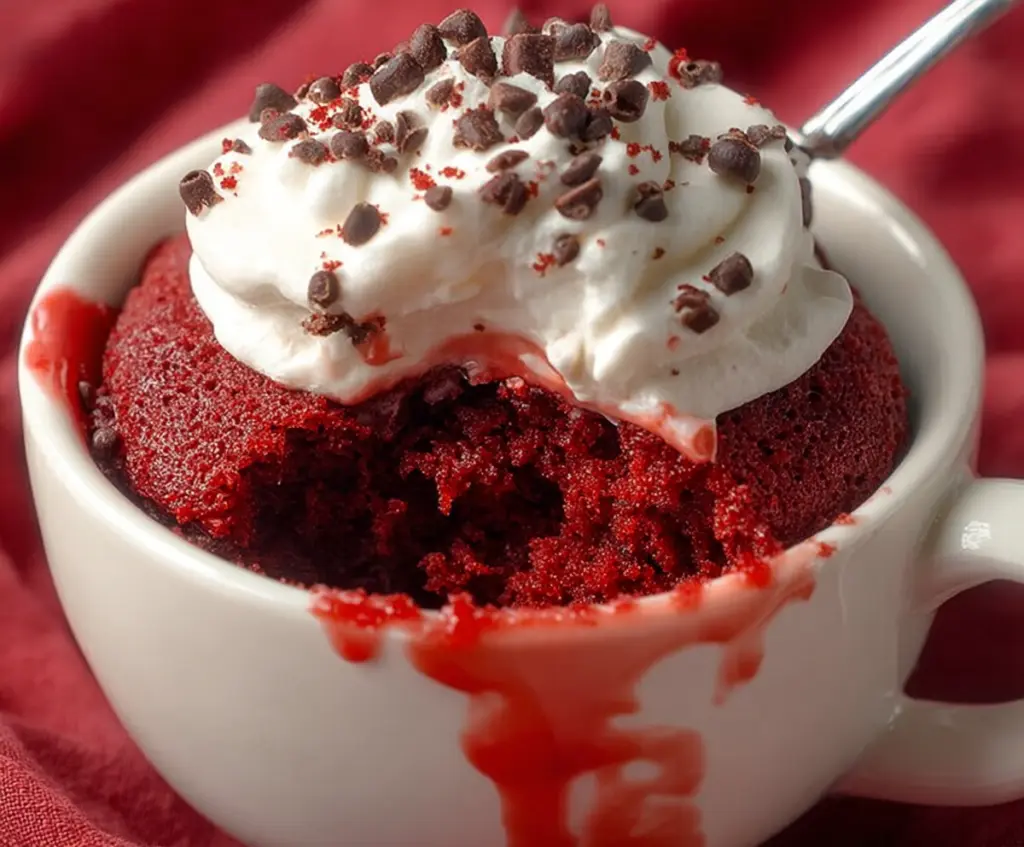
4. Cool and Add Toppings:
Let the cake cool for a minute before topping it with whipped cream. Sprinkle mini chocolate chips on top for a fun crunch and a bit of extra chocolate flavor.
5. Enjoy Your Mug Cake!
Grab a spoon and dig in right from the mug. This quick and delicious red velvet mug cake is perfect whenever you want a sweet treat without the wait!
Can I Use Frozen Milk or Plant-Based Milk for This Recipe?
Yes! Just make sure frozen milk is fully thawed and at room temperature before mixing. Plant-based milks like almond, oat, or soy work great as a dairy-free alternative.
How Can I Store Leftover Mug Cake?
Since mug cakes are best enjoyed fresh, leftovers can be stored in an airtight container in the fridge for up to 1 day. Reheat briefly in the microwave before eating.
Can I Substitute Red Food Coloring?
Absolutely! You can use natural alternatives like beet juice or beet powder, but expect a slightly different flavor and a less intense red color.
What If My Mug Cake Comes Out Too Dense or Dry?
Try reducing microwave time by 5-10 seconds next time or use a slightly larger mug to let the batter cook more evenly. Adding a splash more milk can also help keep it moist.